Purpose and scope
Visual Editor (formerly Visual Page Builder) lets you customize the content in your WebShop with intuitive drag-and-drop functionality and interactive configuration controls, so your brand and content shine. Content can be created for WebShop using Pages in the Management Interface or the Visual Editor in WebShop.
This step-by-step guide outlines how you use Visual Page Builder to add, edit, or delete blocks.
Note
-
To use the Visual Editor, you must have been assigned permissions to use Pages, our Content Management System. Read Screen layout: Administrators for more information.
-
Since Visual Editor is a tool to create and manage content pages in your WebShop, you cannot use it to edit catalog content (such as product details, category names, and so on), the main menu, the header, or the footer.
Step by step
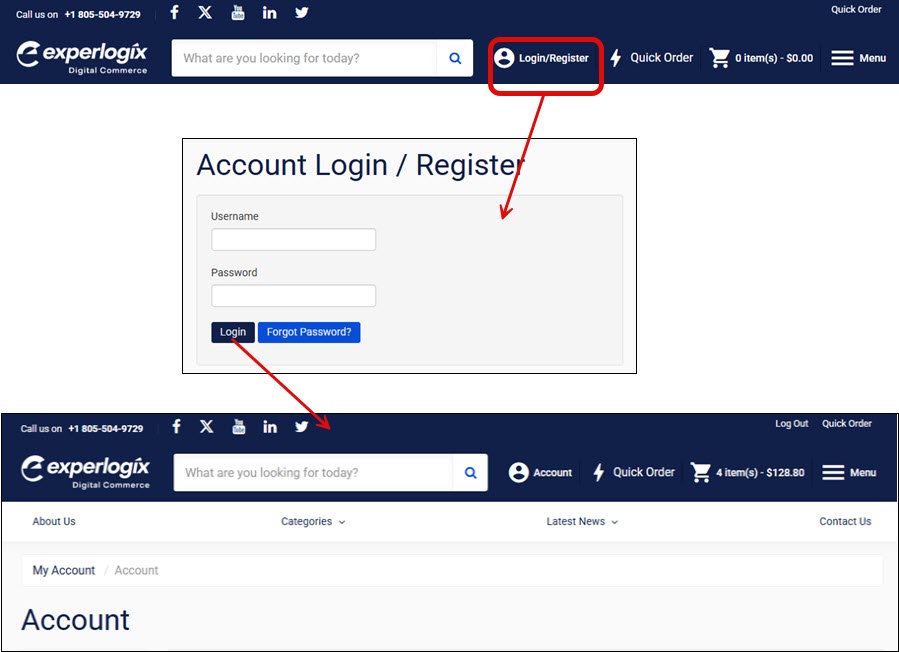
Step 1: Log in to WebShop
Login
Log into WebShop with your username and password. This opens WebShop's dashboard.
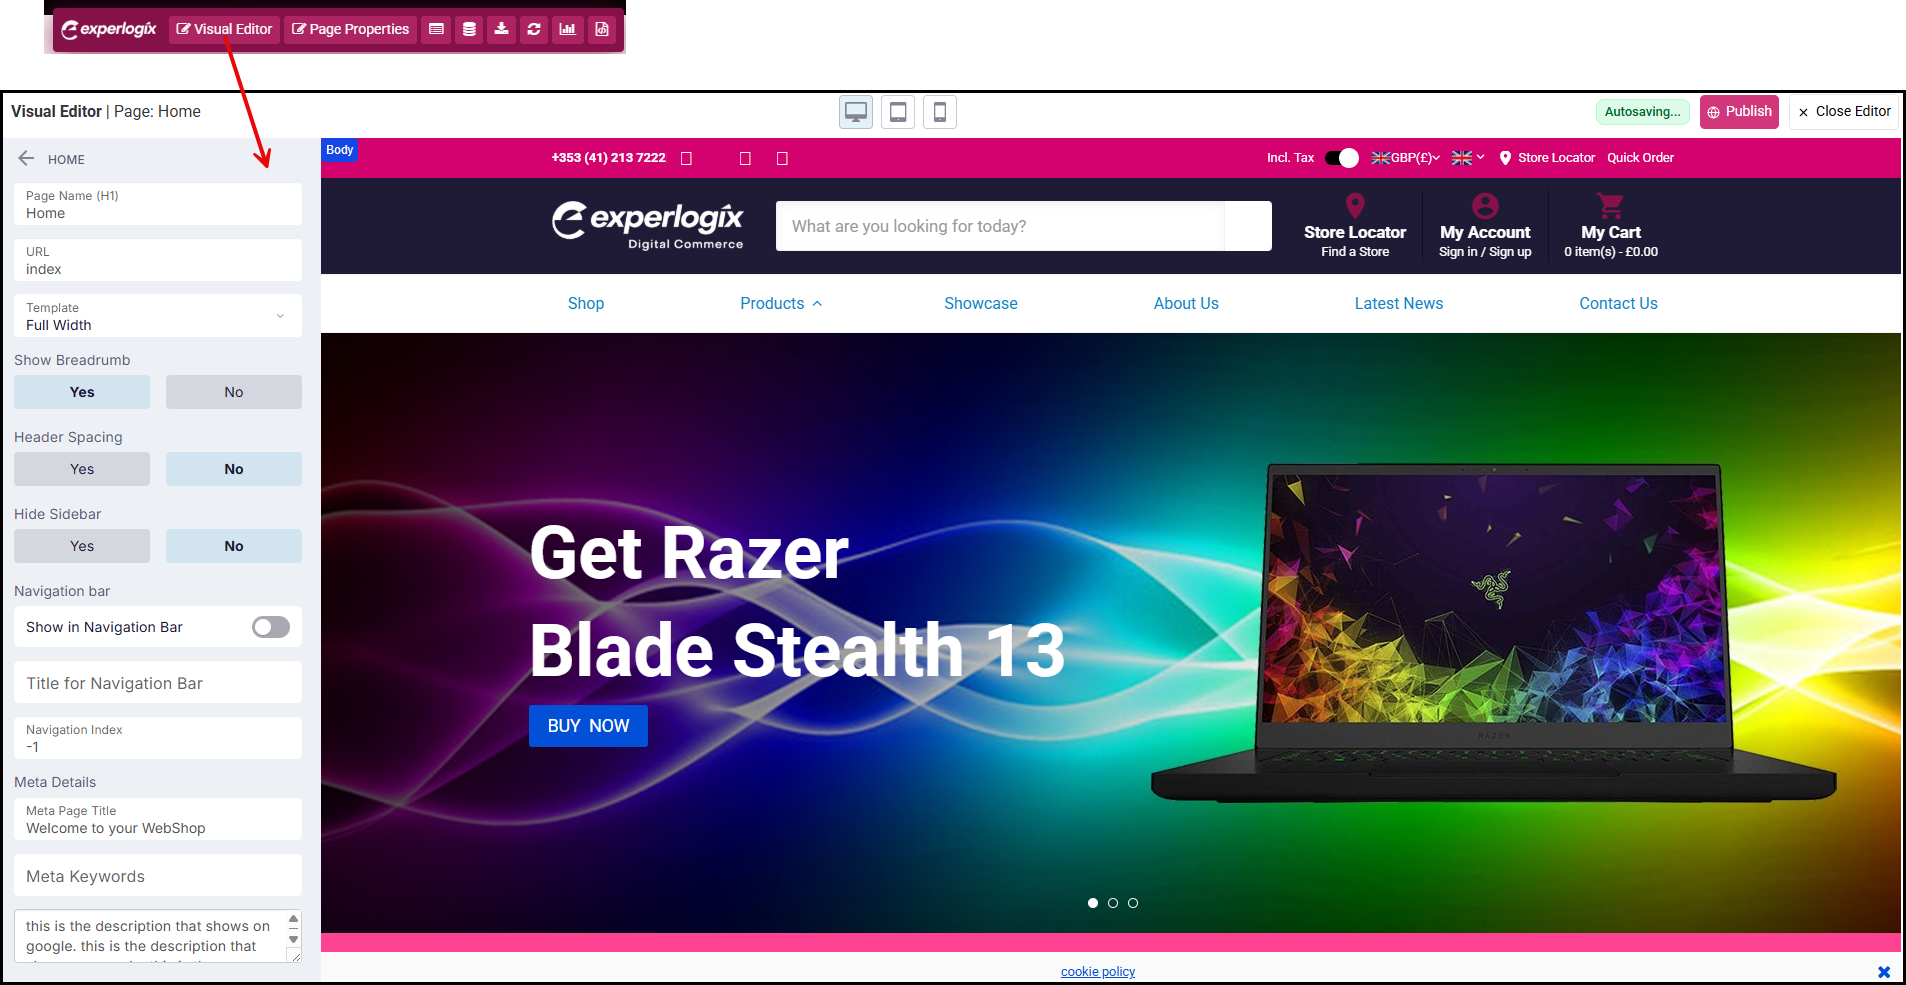
Step 2: Open Visual Editor
Open
Select Visual Editor, located at the bottom right of your screen. This opens the Visual Editor.
Check that you have permission to view Pages (see Screen layout: Administrators) if you can not see the option to open the Visual Editor.
Action 1: View blocks
Action 2: Add a block
Add
-
Drag the block you wish to add from Layouts, found in the panel on the left of the screen, and drop it into the content body.
-
Edit the configuration options on the left panel.
-
Add content as required.
-
Select Publish to make your changes immediately visible in WebShop.
-
Use the block controls, found on the top-right of each block to reopen the configuration options, move the block, or delete the block.
More information
-
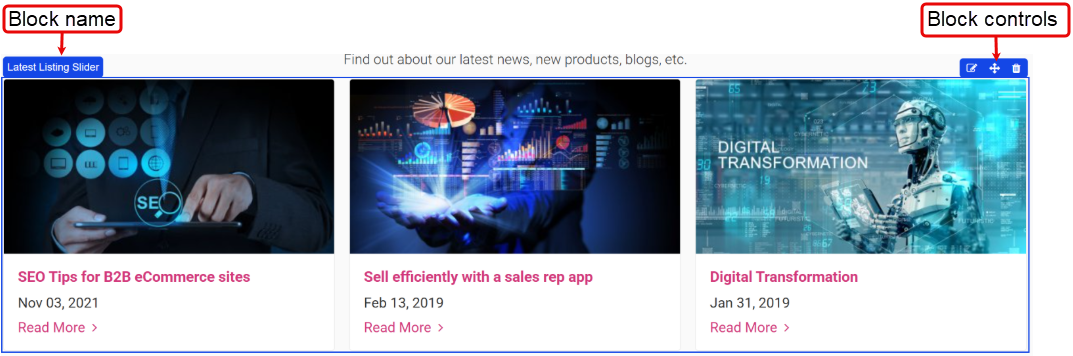
All blocks, when you drop them into the content body:
-
The block is highlighted with a blue line, and
-
The configuration options for that block open in the panel on the left.
-
-
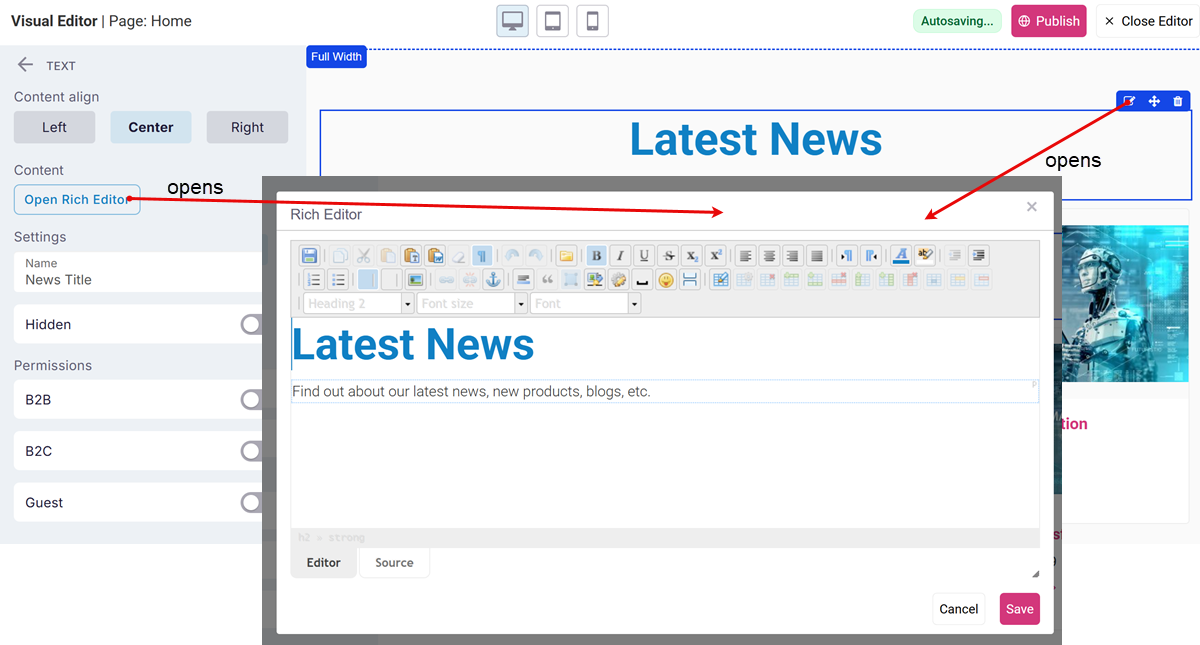
When you drop a text block into the content body, either double-click the text box or select the Edit block control to open the rich text editor.
-
When you drop an image block into the content body, either double-click the image or select the Edit block control to open a file explorer and locate and upload the image you wish to add.
Action 3: Edit a block
Edit
-
Select the block. The block is highlighted in blue, its configuration options are displayed in the panel on the left, and the block controls are visible in the top-right corner.
-
For the text block, select the edit icon,

-
For the image block, select the edit icon,
-
For all other blocks, the edit icon,
Once you publish the page, the changes are visible in your WebShop.
Action 4: Delete a block
Delete
-
Select the block. The block is highlighted in blue, its configuration options are displayed in the panel on the left, and the block controls are visible in the top-right corner.
-
Select the delete icon,

-
Select Confirm to delete the block.
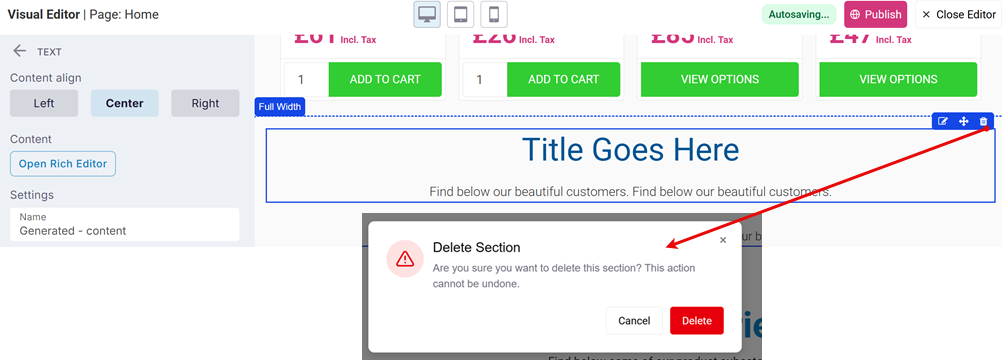
Once you publish the page, the changes are visible in your WebShop.