How do I restrict WebShop pages to particular customer groups?
Purpose and scope
As a merchant, there may be times that you want to restrict certain WebShop pages to a particular set of customers. Perhaps you have a set of products you only wish to sell to one customer group, or perhaps you have an announcement you wish to share with a different customer group.
The purpose of this article is to explain how you can restrict WebShop pages you create by customer group.
Introducing terms and concepts used in this article
Term
Definition
Customer group
a list of customers who have a web account on WebShop that are linked via a group name.
Step by step
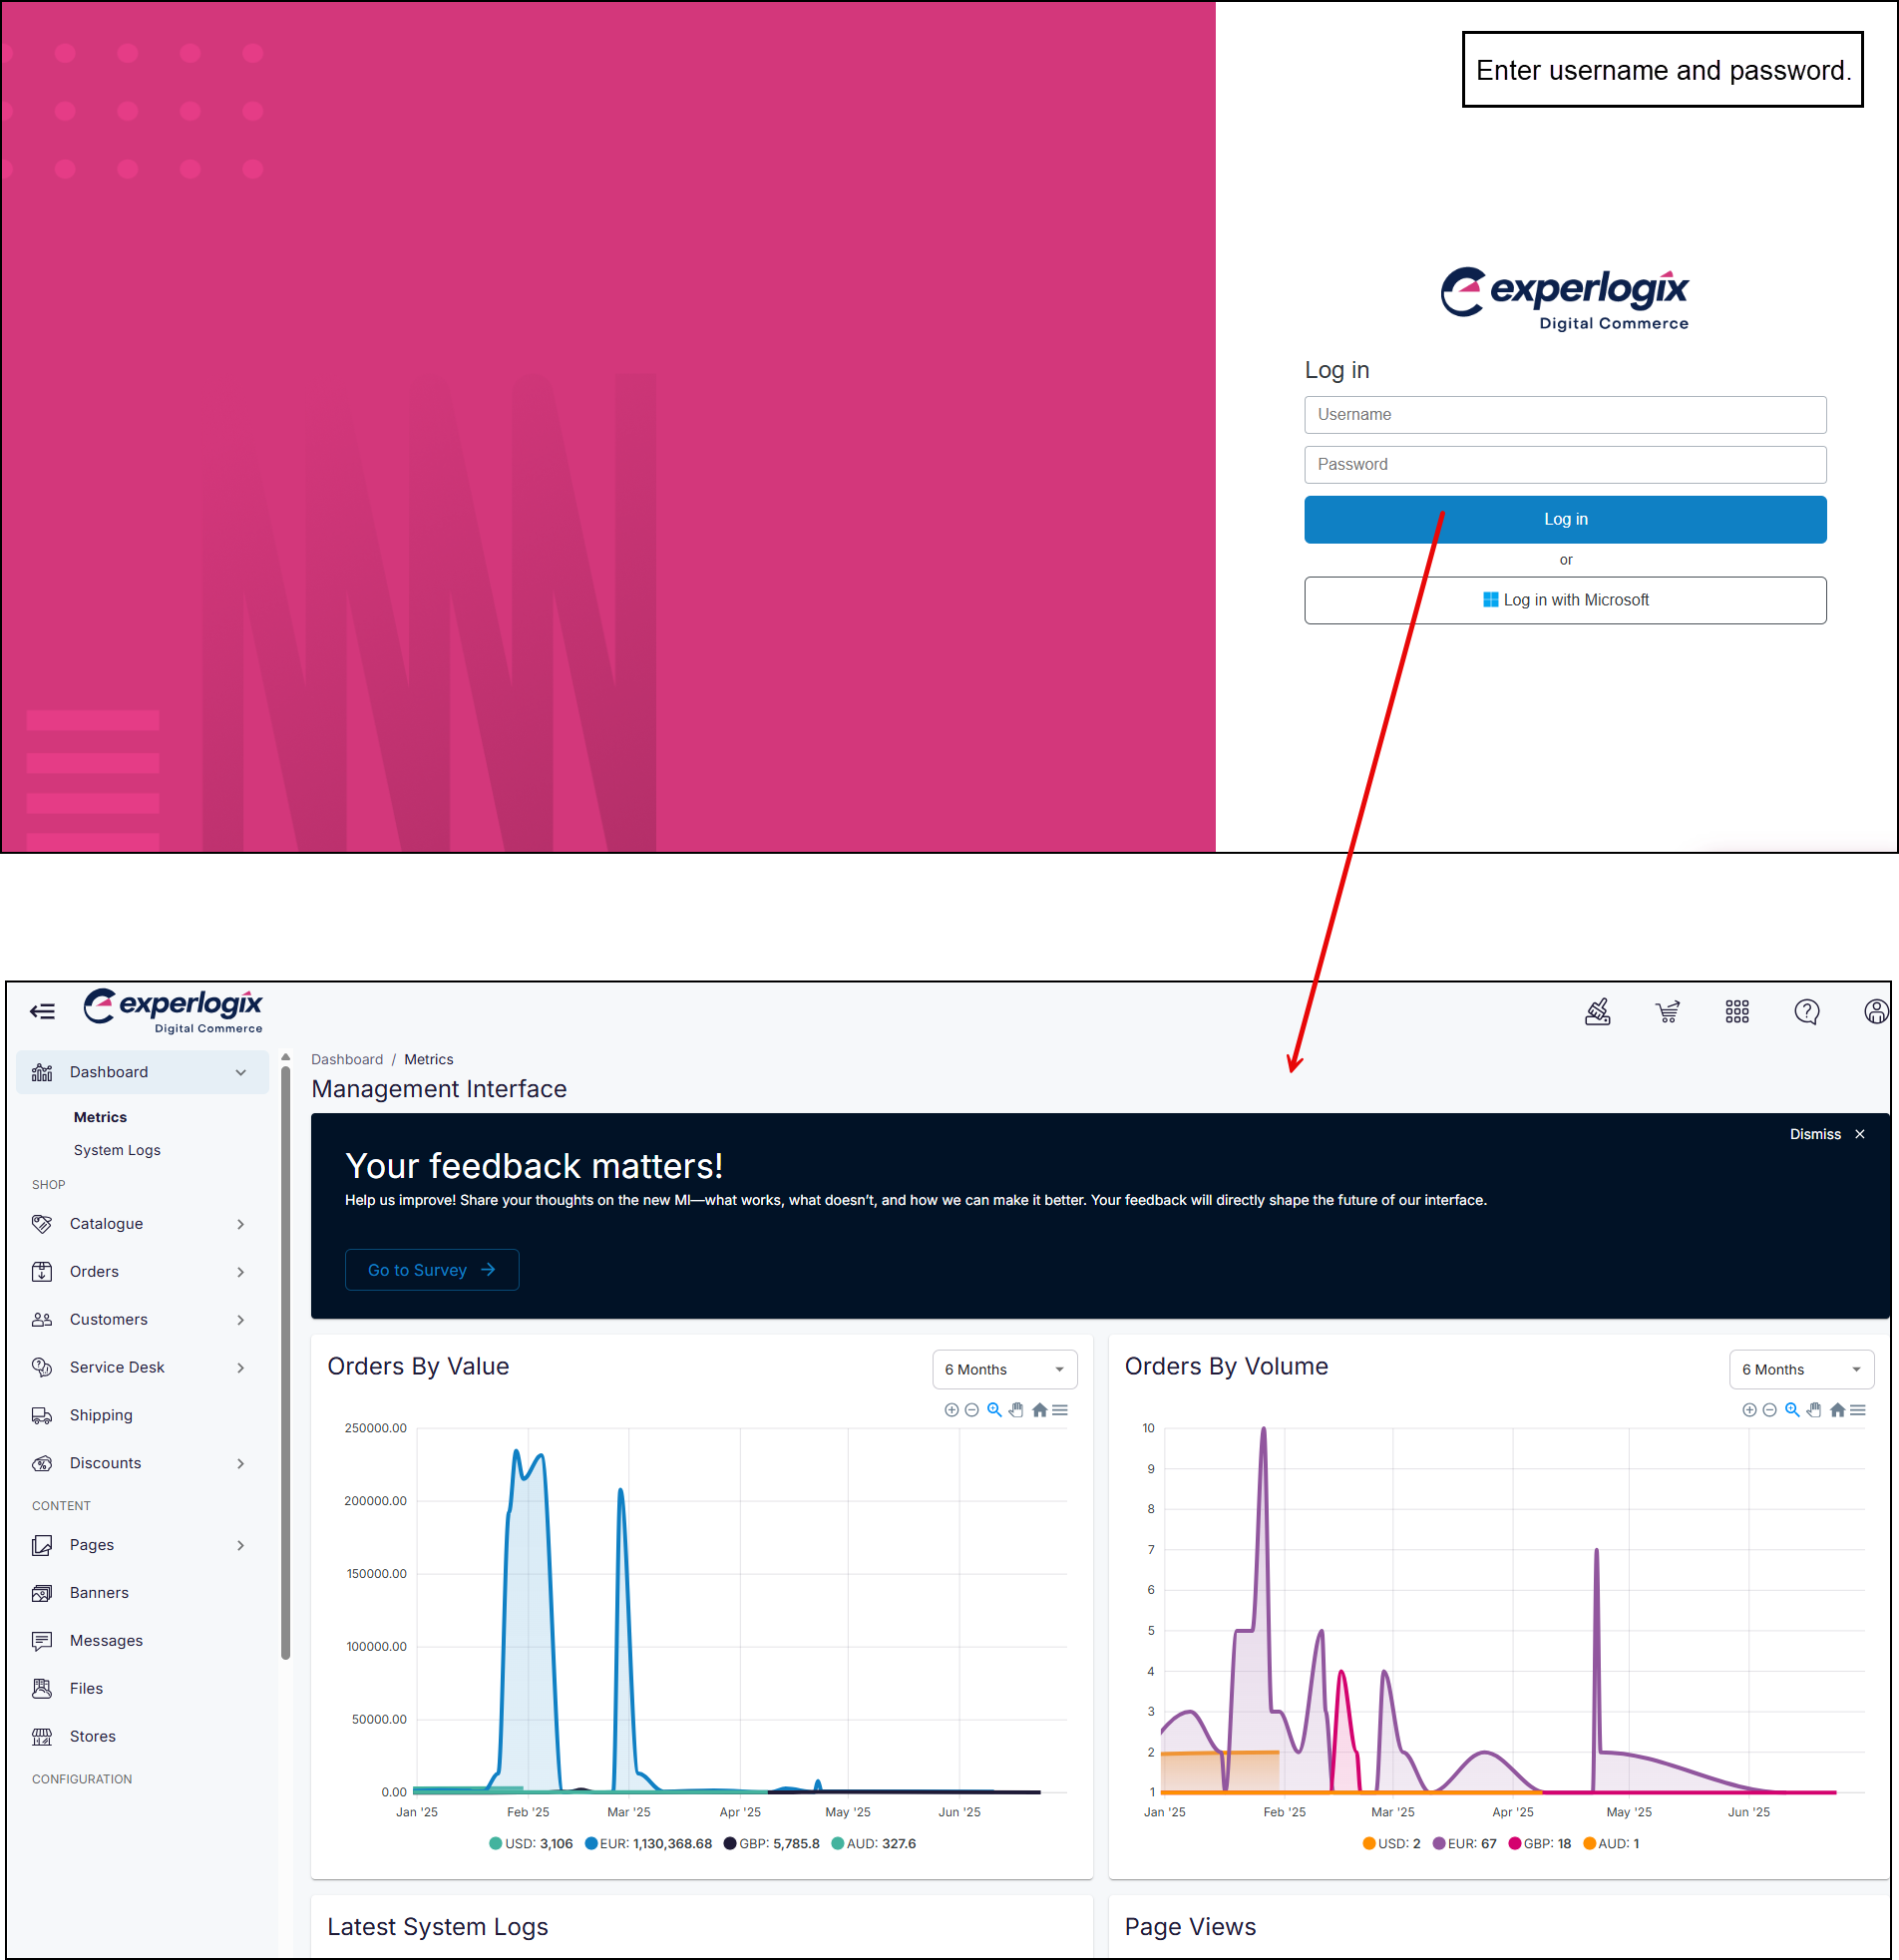
Step 1: Log into Management Interface
Login
Log into Management Interface using your username and password. This opens the dashboard of your Management Interface.
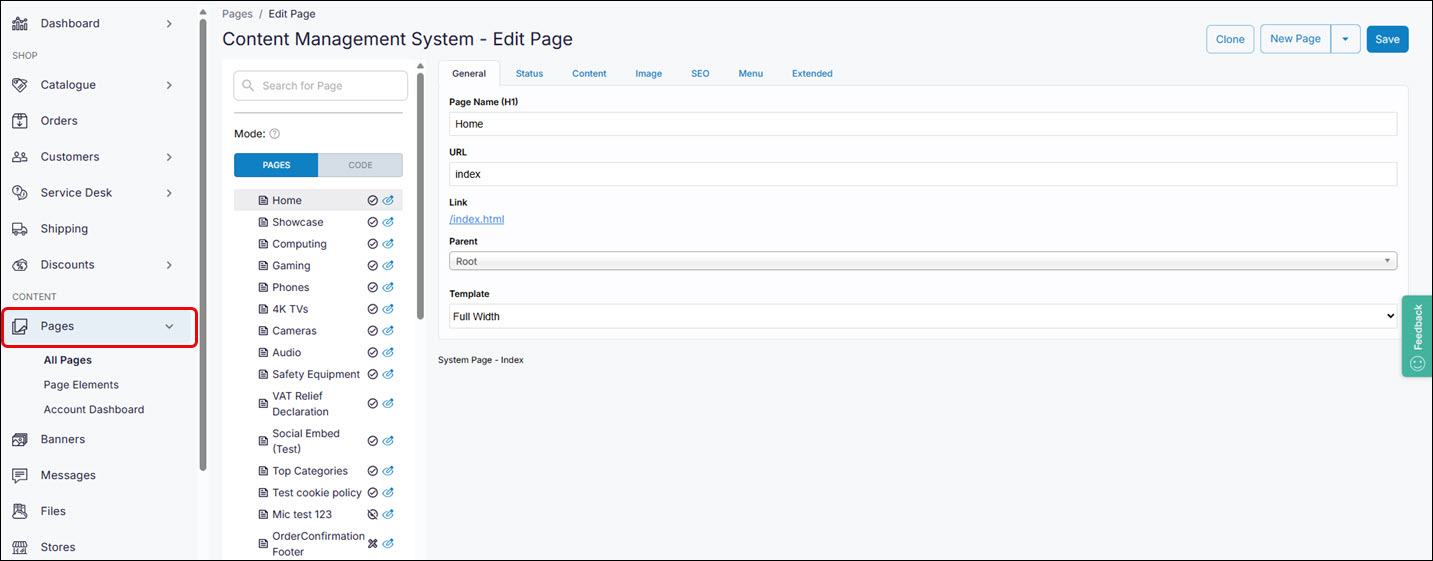
Step 2: Open Pages
Open
Click Pages. This opens the Content Management System.
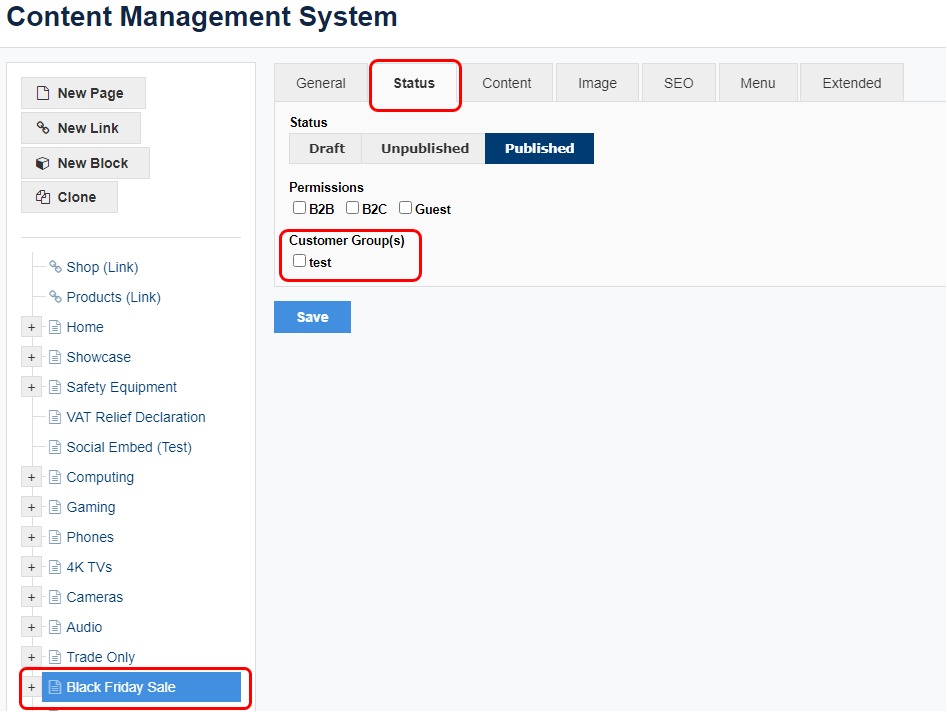
Click the Status tab in the Pages editor. The status screen allows you to set the page's status and permissions.
Check the box beside the customer group you wish to grant view permission.
Click Save. This saves the permissions, and restricts the page to the customer groups you have selected.
Key points
Once you have configured Customer Group permissions, child pages and blocks are only displayed if the logged-in user belongs to a Customer Group that has permission to view that page or block.
As an Administrator, you always have access to all pages and blocks, regardless of how Customer Groups are configured. A message, "Locked page you can view as an admin" is displayed on any page you may not have access to. Log in as Admin and you can see the restricted page.
Remember to click Save once you make changes to any of these settings. The changes are applied immediately in WebShop
JavaScript errors detected
Please note, these errors can depend on your browser setup.
If this problem persists, please contact our support.