Purpose and scope
The Templates Editor is a code-based design tool for extending the look and feel of different elements of your WebShop, including the Account Dashboard, Gated Login (if enabled), Product Catalog and Product Card, and more.. We have exposed objects and variables that allow you to achieve a personalized look and feel for your WebShop.
This article provides a step-by-step guide to tasks you can complete regardless of which part of your WebShop you are customizing.
Key points
-
If you are comfortable with HTML, CSS, and variables, you’ll be able to use this feature to achieve a personalized look and feel for your WebShop.
-
You are responsible for ensuring that the code you have written doesn’t adversely affect your WebShop.
Introducing terms and concepts used in this article
|
Term |
Definition |
|---|---|
|
Cascading Style Sheets |
(CSS), describes how HTML elements are displayed on screen and can control the layout of multiple webpages at once. |
|
Hypertext Markup Language |
(HTML), the standard markup language for creating Web pages, used to describe the structure of a Web page. |
|
Twig |
an open source template engine which we refer to as our templating language. It consists of a standard syntax that uses expressions, variables and tags to control the content and logic of each template or code snippet. |
Tasks
Assumptions
-
You are logged into the Management Interface.
Open Templates
Open
-
Select Templates, located in the left-hand menu under Content. This opens the Template Editor. The Template Editor contains three panels:
-
a tree containing templates (code snippets) that you can select to edit,
-
an editor tab where you add your code,
-
a documentation tab where you can view the objects and variables to use when writing code,
-
a layout tab which highlights which area of the WebShop page will be altered for each template in this folder.
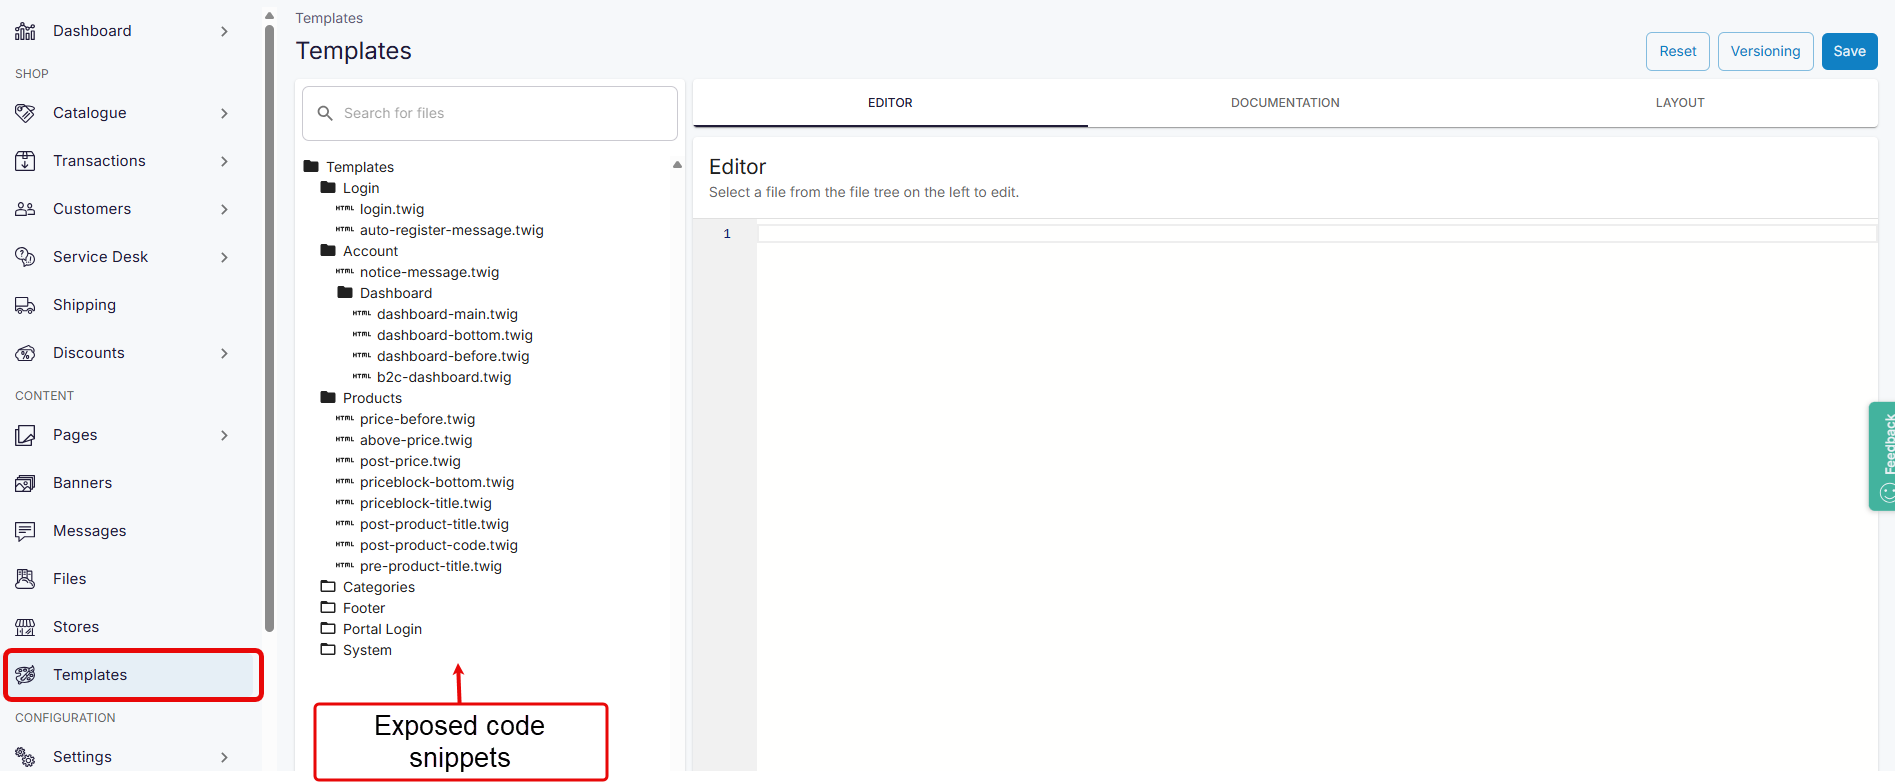
-
Edit template file
Edit
-
Select the template file that you wish to edit in the Templates Editor. The file's contents appear on the right panel under the Editor tab.
-
Update the code using Twig syntax as required. See Using Template editor use cases for some examples of what you can achieve using Templates.
-
Select Save. This saves the code and updates the template file with your changes.
Example
In this example, login.twig has been opened, and its Twig code is visible under the Editor tab.
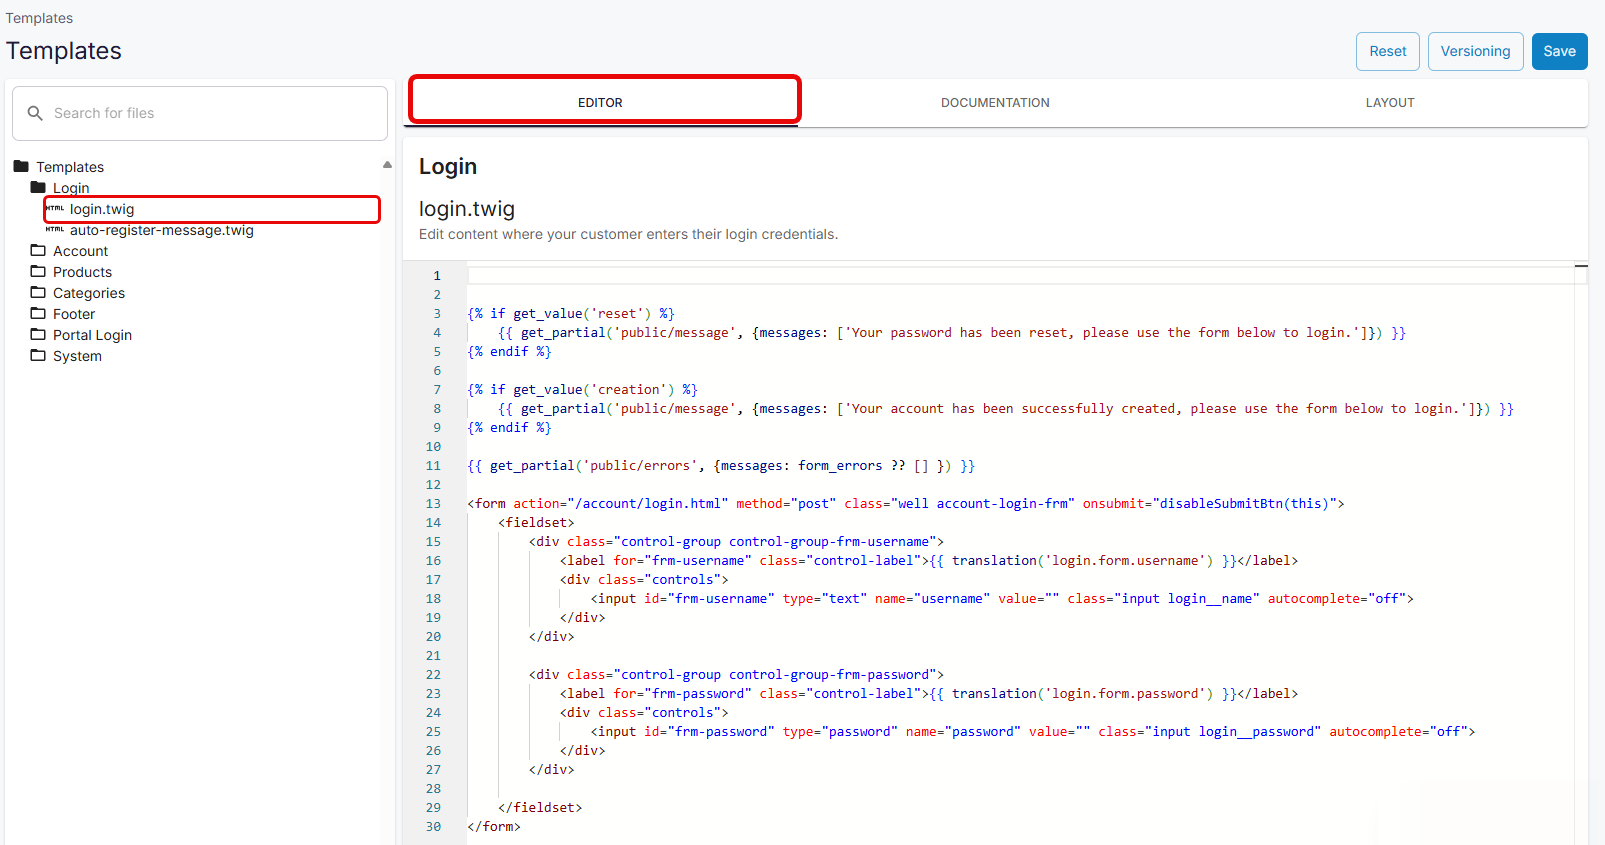
Changes are visible in WebShop once you have saved your changes.
Reset template to default
Reset
-
Select the template file you wish to reset to the default in the Templates Editor. The file's contents appear on the right panel under the Editor tab.
-
Select Reset at the top right of the screen. This will reset the opened code snippet to its default version.
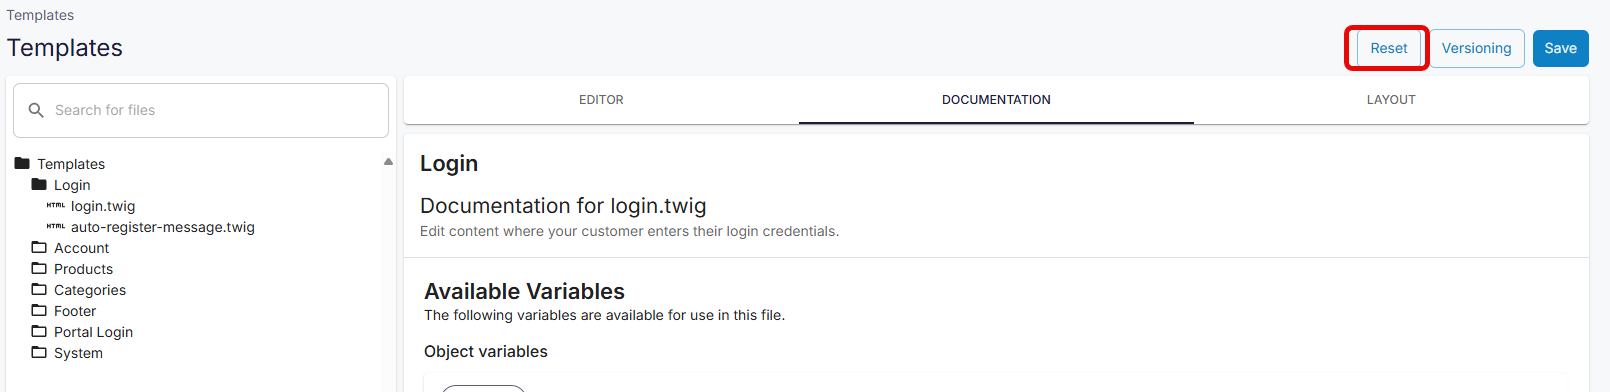
Changes are visible in WebShop once you have confirmed you wish to return to the default version.
Manage Versioning
Versioning
When you have a code snippet open, you can view different versions of that code snippet.
-
Select Versioning from the top right of the screen. This opens a list of saved versions for the open code snippet.
-
Select

-
Select


Changes are visible in WebShop once you have clicked Restore and confirmed your choice.
Check documentation
Check
The Documentation tab displays the objects and variables that can be modified in the opened code snippet.
-
Select Documentation to view the objects and variables for the opened code snippet.
Example
In the example, the objects and variables available to use in login.twig are shown.

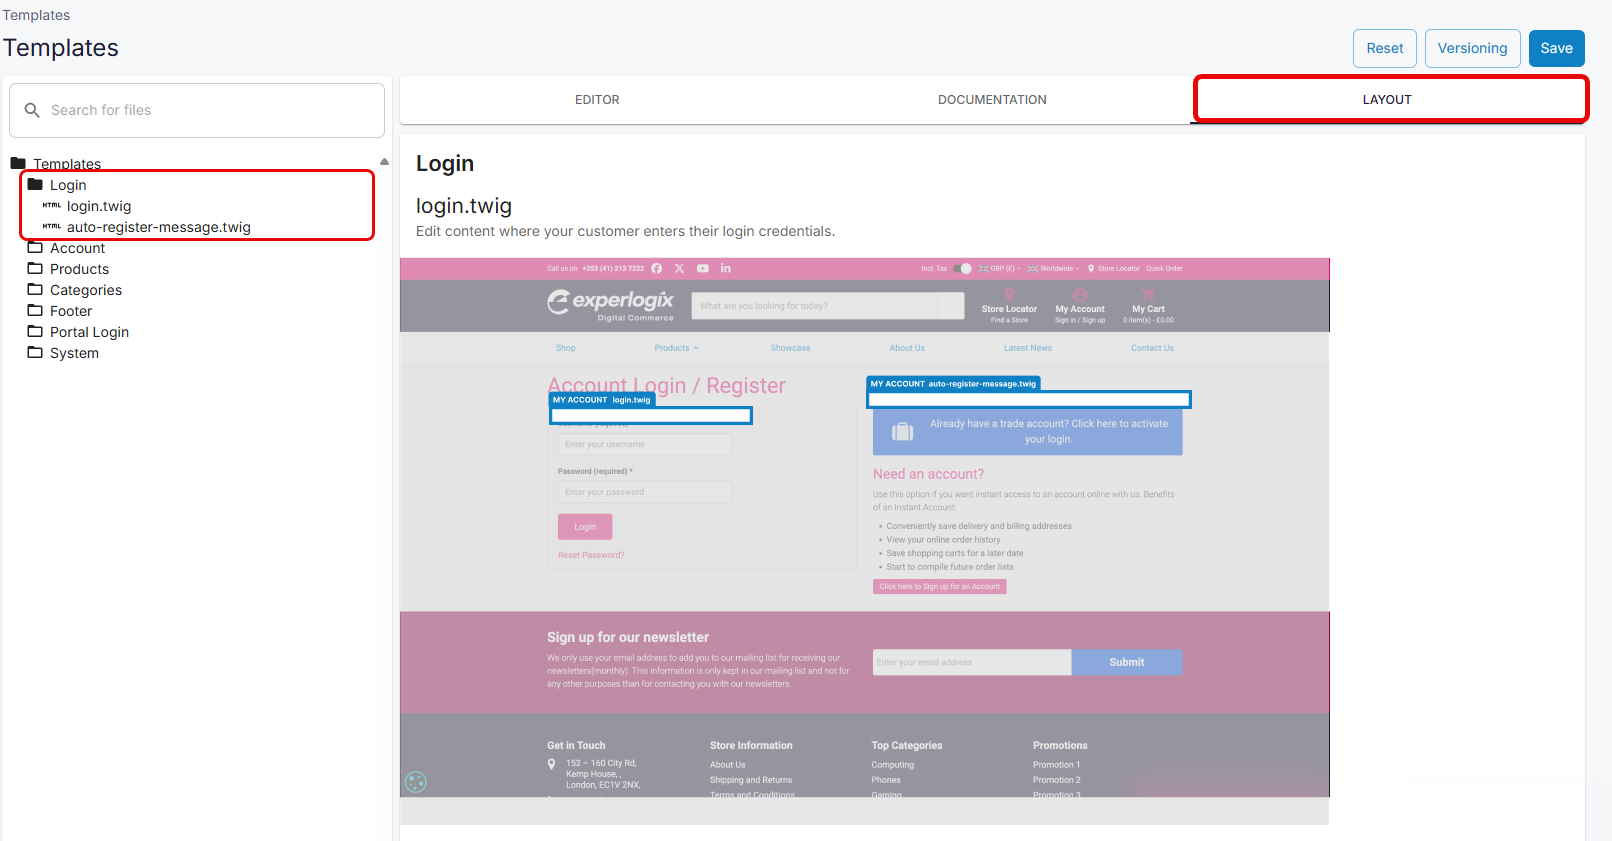
Check layout
Check
The layout tab highlights which area of the WebShop page will be altered for each template in this folder.
-
Select "Layout" to view a static image of all templates stored in the folder.
Example
In the example, the locations of all template files listed under Login are shown.