Skip table of contents

How do I add social media links to my WebShop?

Purpose

To provide a step by step guide on how to add social media logos to your WebShop.

Step by step

Step 1: Log into Management Interface

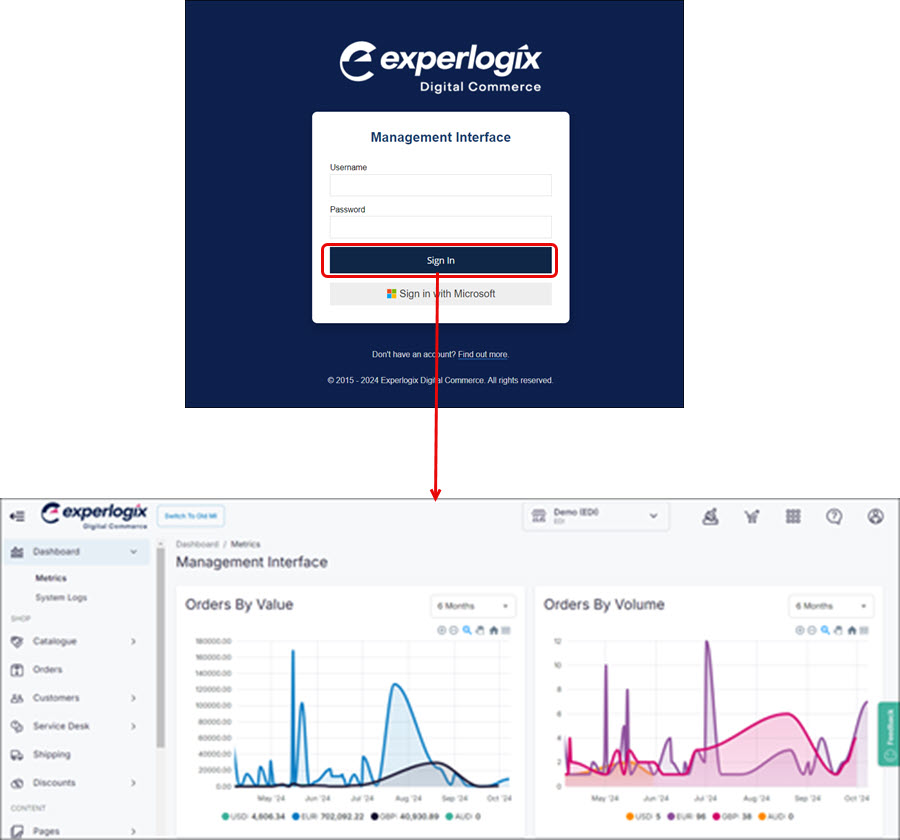
Log in

Log into Management Interface using your username and password. This opens the dashboard of your Management Interface.

LogIntoManagementInterface.jpg

Step 2: Open Settings

Open

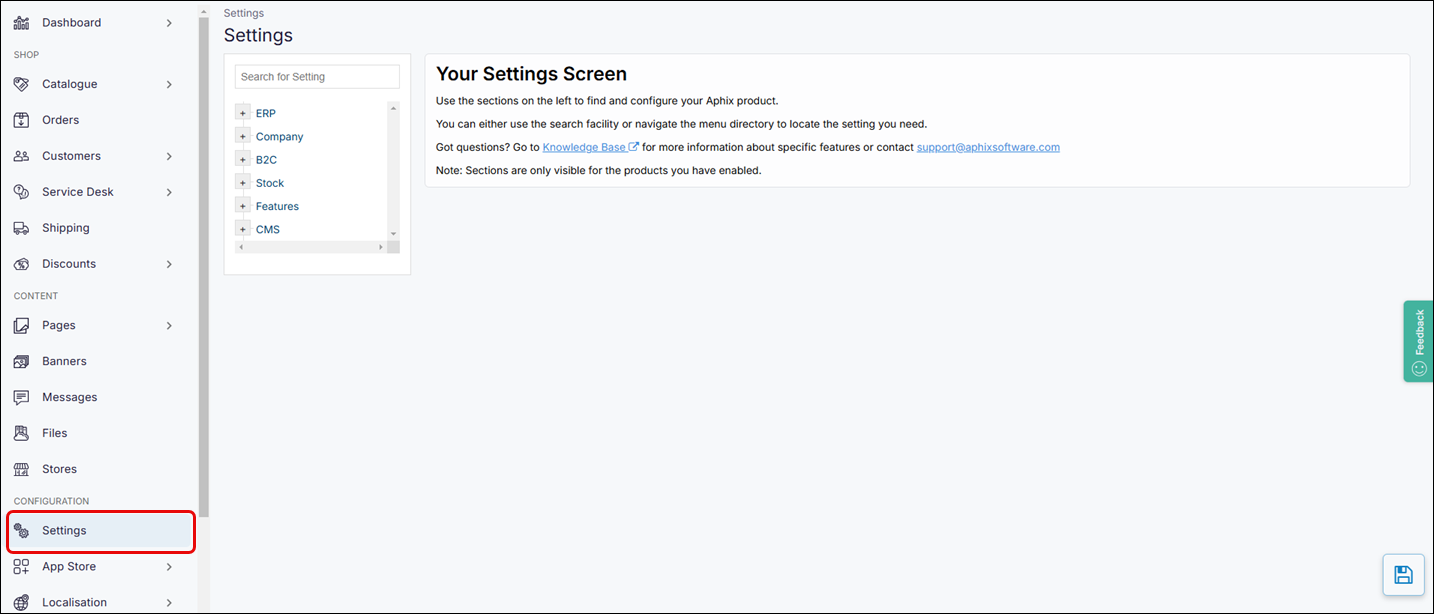
Click Settings. This opens the configuration area of Management Interface.

OpenSettings.png

Step 3: Find and update setting

Find and update
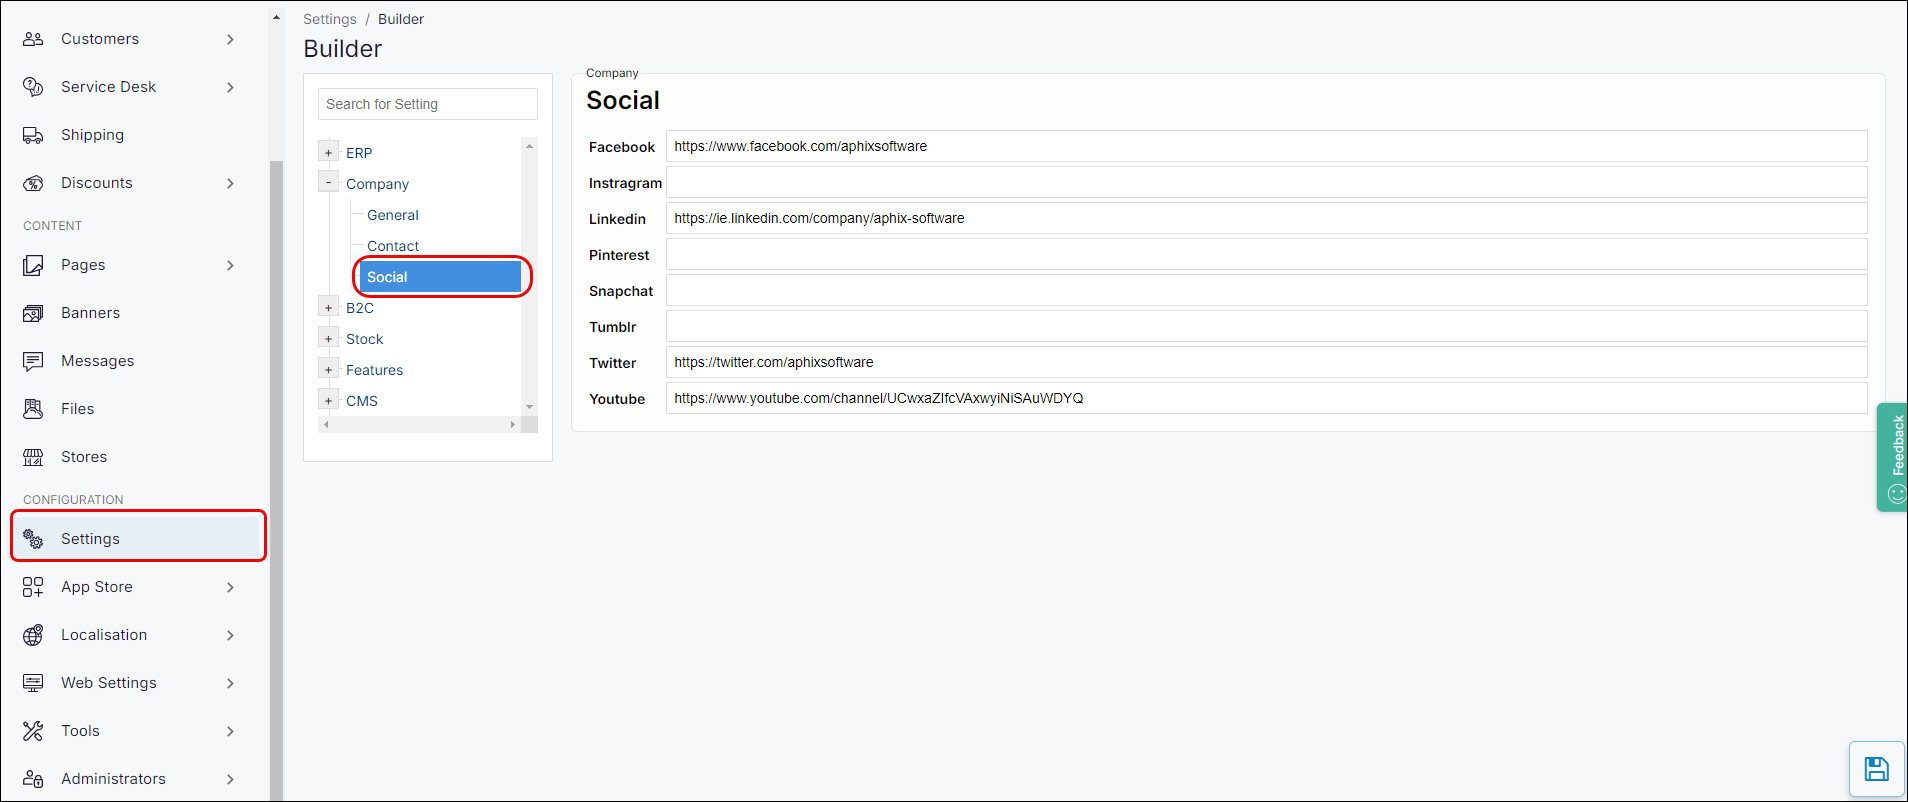
  • Find the setting, by searching for “Social” or browsing the directory to Company → Social.

Settings-SocialMedia.png
  • Add the links to the listed social media platforms.

  • Click Save.

Saved changes are immediately visible on WebShop.

Example

Example

Suppose you wish to add a Pinterest link to WebShop.

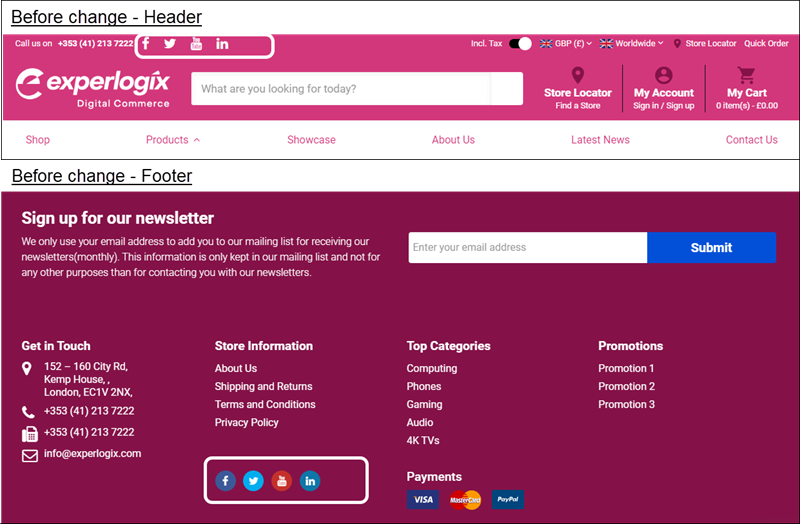
Before you make the change, your WebShop looks like this (with no Pinterest logo visible on the Header and Footer):

Example-Before.png

Open Settings → Company → Social, and add the Pinterest link in the correct field. Click Save.

Settings-AddLink.png

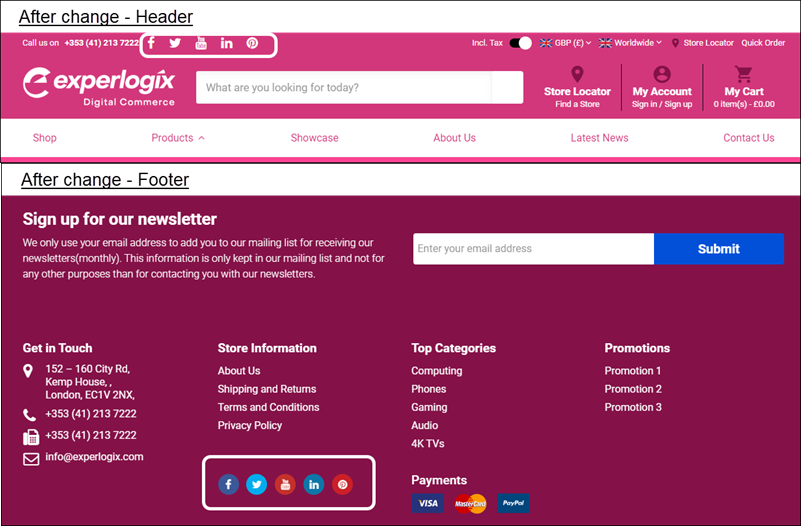
After you make the change, your WebShop looks like this (with Pinterest logo visible on the Header and Footer):

Example-After.png

Key points

  • You can add links to your social media platforms quickly and easily in Management Interface.

  • The links you add are displayed as the social media platform’s logo in WebShop’s Header and Footer.

JavaScript errors detected

Please note, these errors can depend on your browser setup.

If this problem persists, please contact our support.