Skip table of contents

Using the Product in Category Editor

Purpose and scope

The Product in Category editor is a tool that allows you to easily move products around your catalog. This is useful if you have added new products to your catalog and wish to move them into a different category quickly.

This article provides a step by step guide on how to use the two different views (List View and Tree View)contained in the Product in Category Editor to add and move products around your catalog.

We recommend reading Understanding Product Administration in WebShop to learn about the product administration tool and how it works before following the steps outlined in this guide.

Step by step

Log into Management Interface

Log in

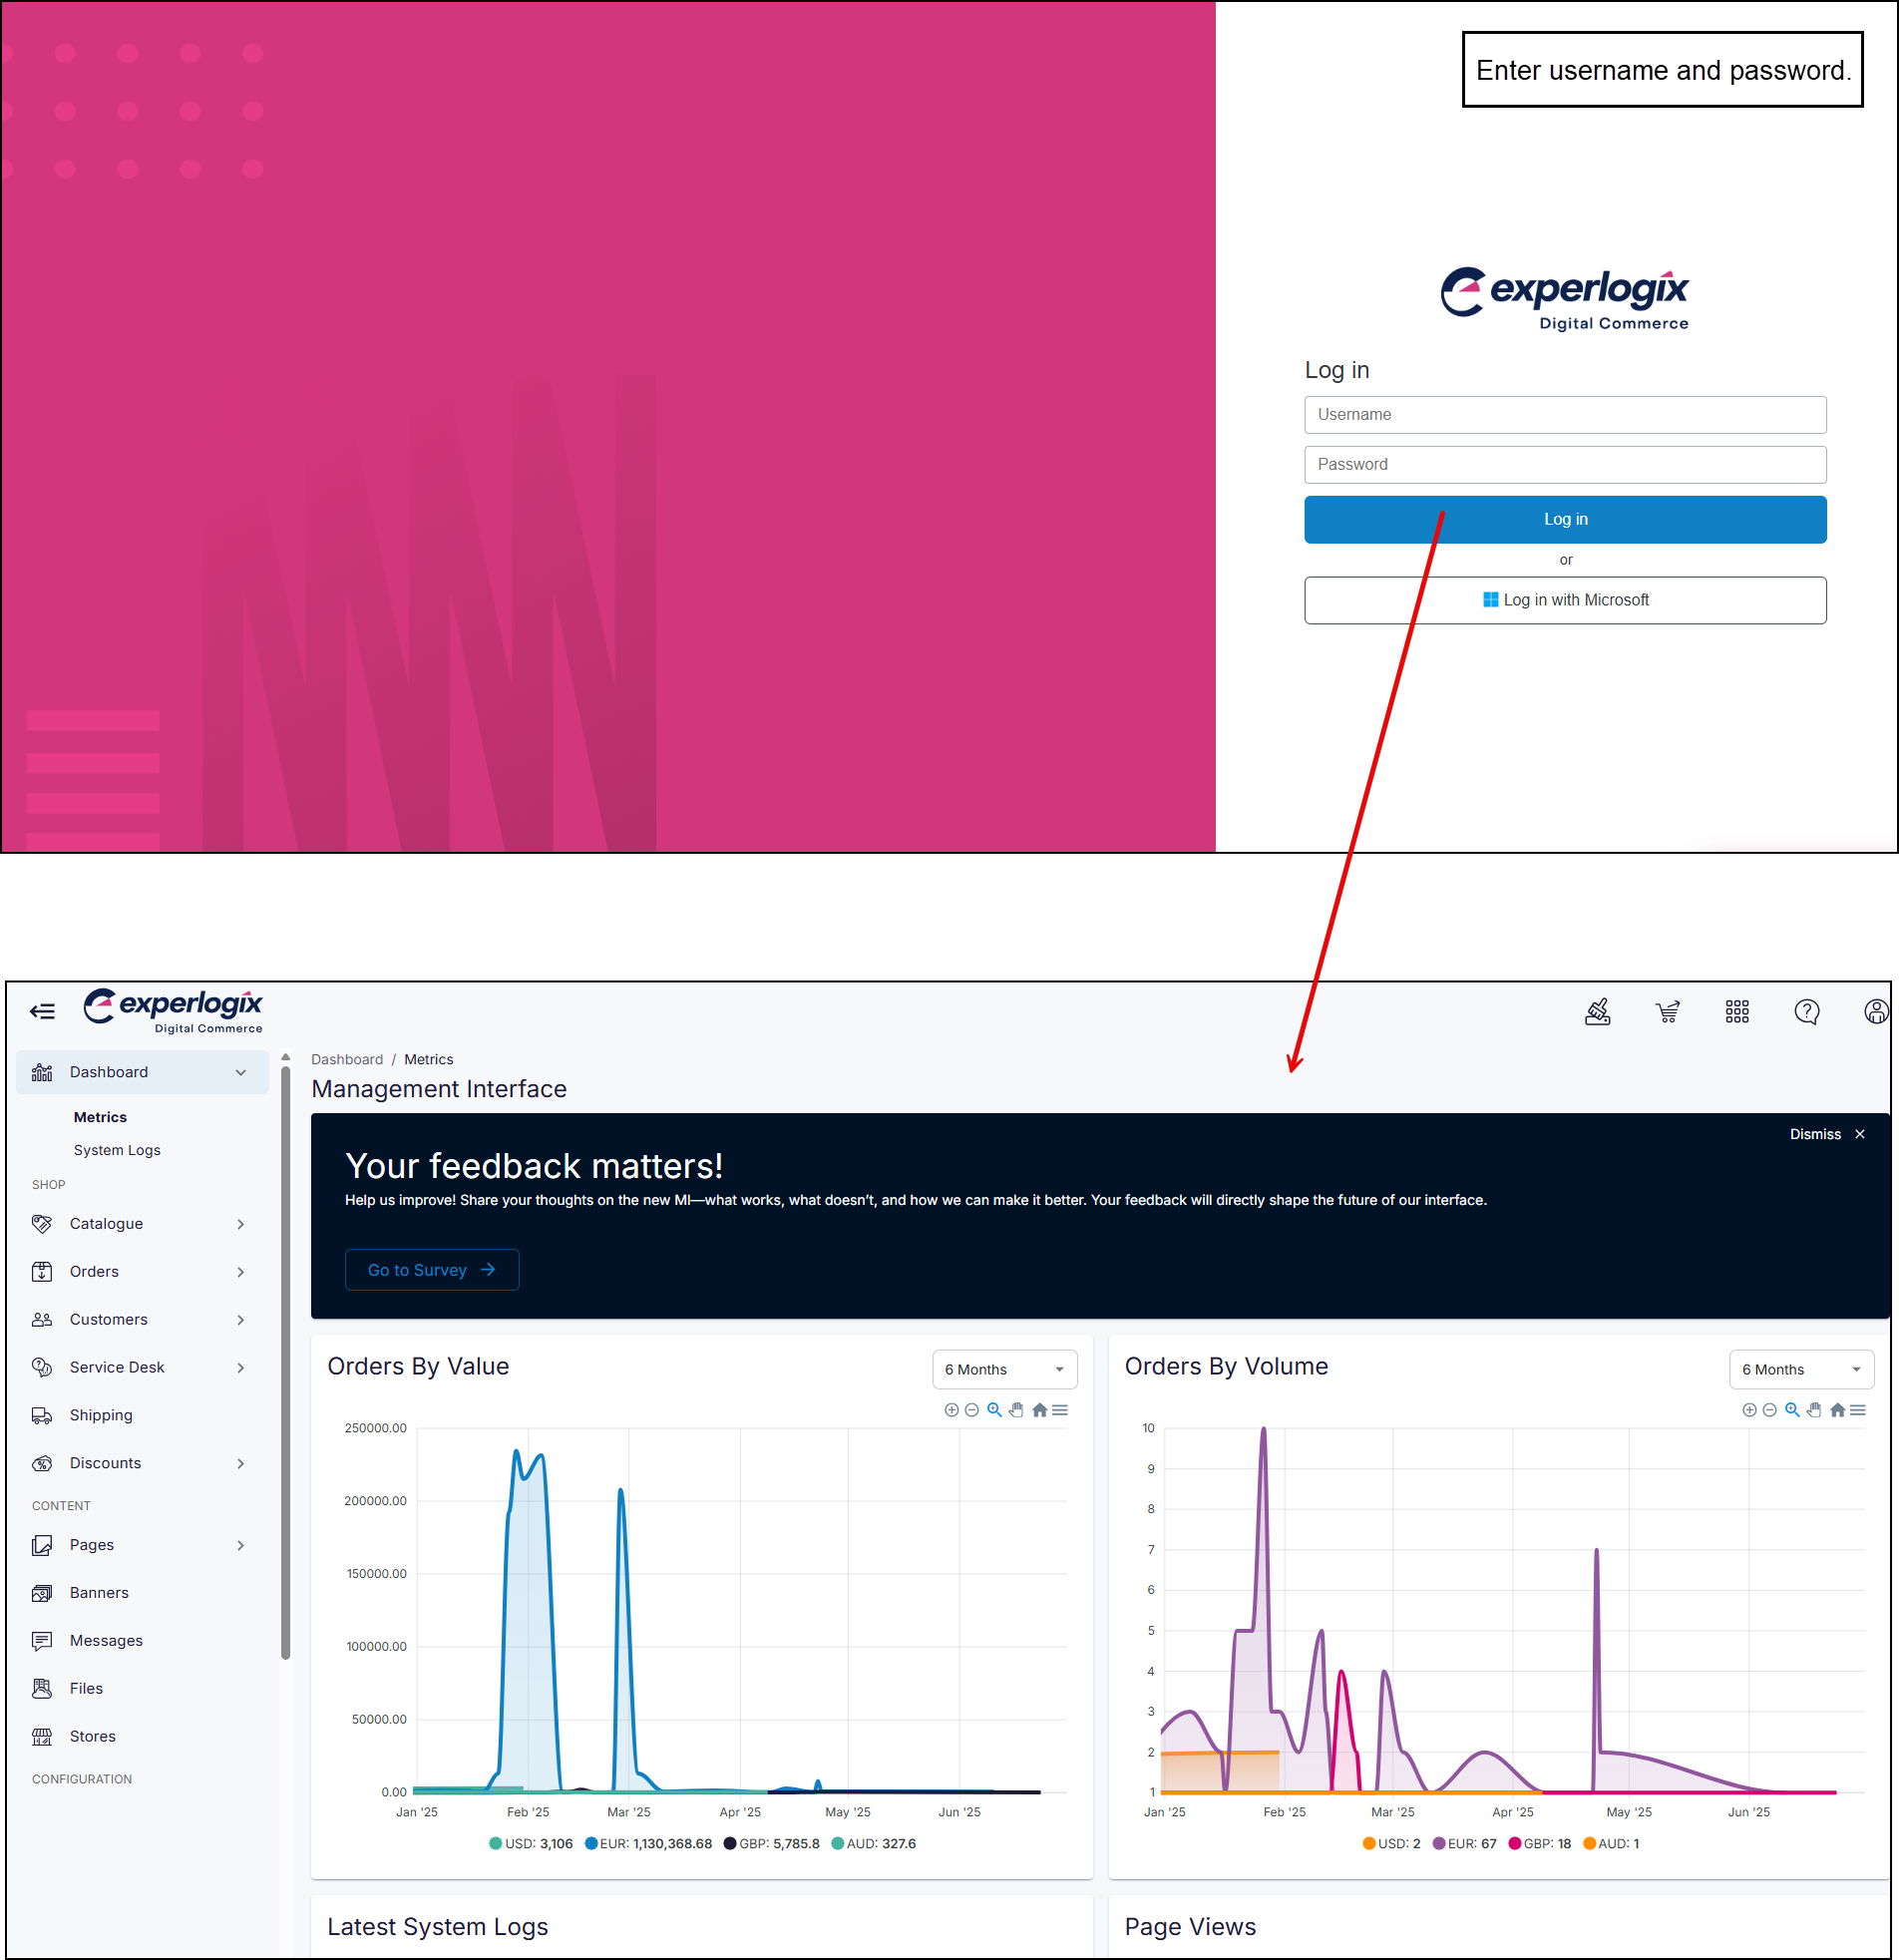
Log into Management Interface using your username and password. This opens the dashboard of your Management Interface.

LogIntoManagementInterface-Mar2025.png

Step 2: Open product administration

Open
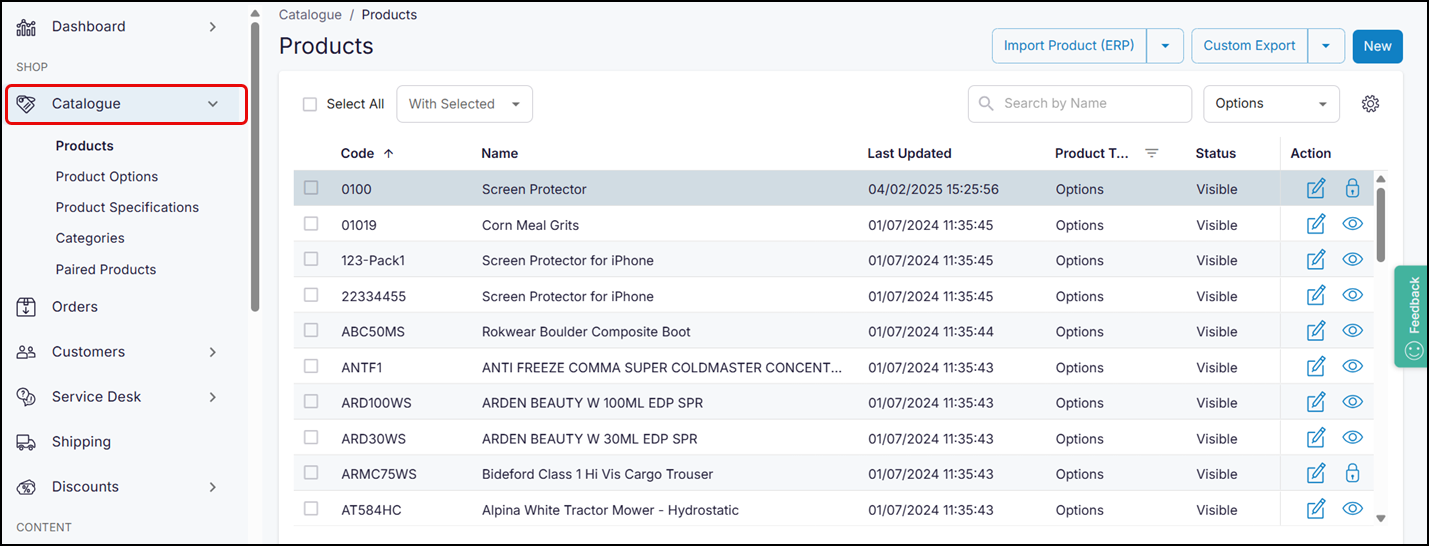
  • Click Catalogue on the left hand menu. This opens Product Administration, from where you can manage your product catalogue.

OpenProductAdmin.png

Step 3: Open product

Open
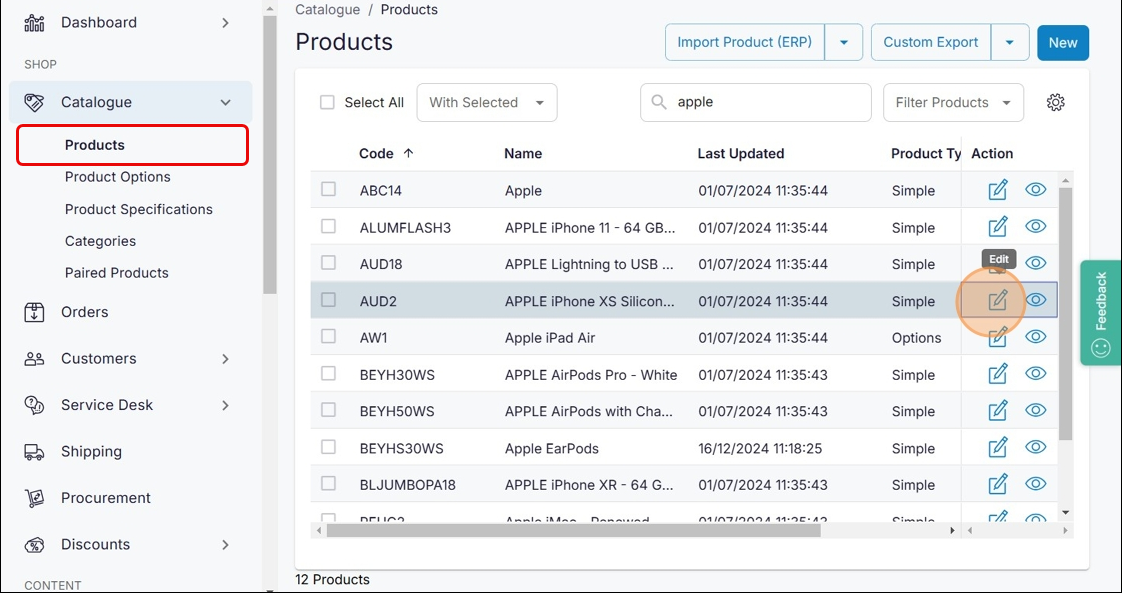
  • Click Products. This opens a listing of products in your catalogue.

  • Locate the product you wish to update.

ProdInEditor-EditProduct.png
  • Click the Edit icon to the right of the product. This opens the product administration tool.

  • Click the Product Settings tab.

    ProdInEditor-ProductSettings.png
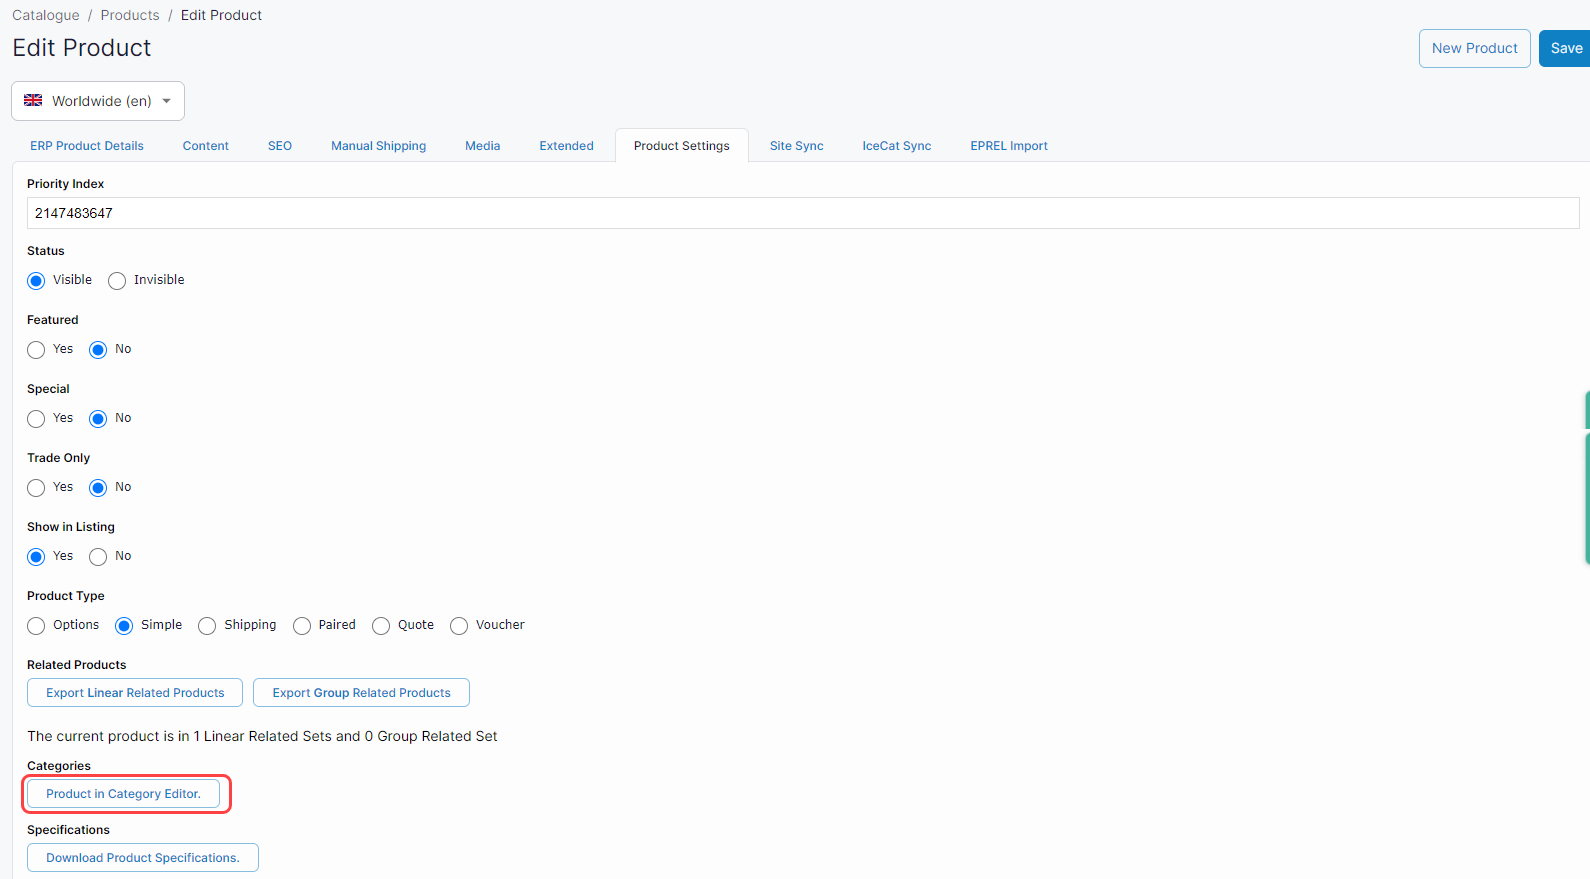
  • Scroll down to the Product in Categories Editor option under the Categories heading.

    ProductSettings-ProductInEditor.png
  • Click Product in Categories Editor. This opens the Update Product in Category screen, which allows you to quickly add this product to one or more categories.

    ProdInEditor-UpdateProductInCategoryEd.png

Action 1: Add product to categories using the Tree View

Add

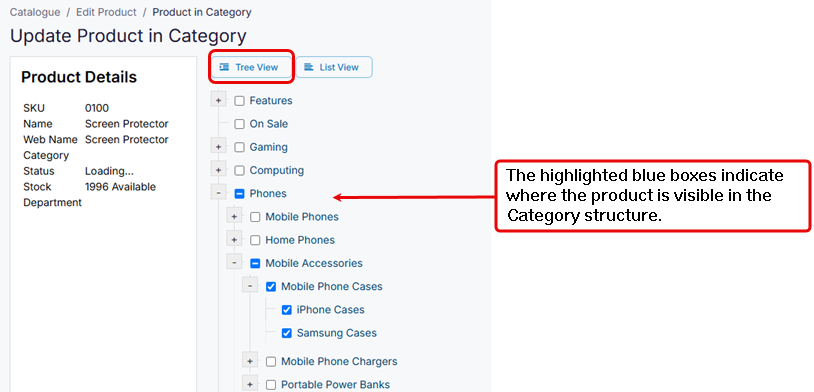
The Tree View displays the Category structure using a hierarchical file directory. The product is found in all categories which are highlighted with a blue tick.

  • Browse through the tree structure

  • Check the box to the left of the categories you wish the product to be listed under. Your changes are immediately and automatically saved.

ProductInEditor-TreeView.png

While changes are applied immediately to your WebShop, you may have to clear your cache to see them.

Action 2: Add product to categories using the List View

Add

The List View provides a path to where the product is displayed. The product is found in each of the listed category paths.

  • Start typing the category name you wish to add this product to. The field auto-completes with available options.

  • Select the desired category from the drop-down box.

  • Repeat this step until you have added the full category path.

ProductInEditor-ListView.png

Changes are automatically saved and applied immediately to your WebShop when you add a product using the List View. You may have to clear your cache to see them.

Step 4: Verify changes

What do my customers see in WebShop?

Products are listed in the categories they have been assigned to in Management Interface.

Example

The product with product code 0100 (“Screen Protector”) that has been added to the following categories:

  • Phones → Mobile Accessories → Mobile Phone Cases → Samsung Cases

  • Phones → Mobile Accessories → Mobile Phone Cases → iPhone Cases

are displayed in WebShop as follows:

WebShopView-CategoryTree.png

JavaScript errors detected

Please note, these errors can depend on your browser setup.

If this problem persists, please contact our support.